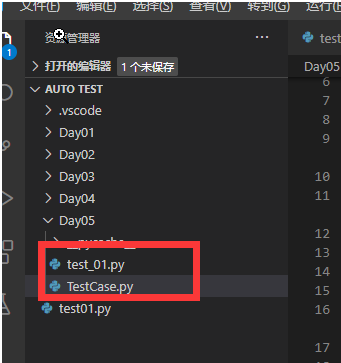
1、创建python单元测试文件,包含test
文件名必须要包含test,否则将无法识别为unittest框架文件。
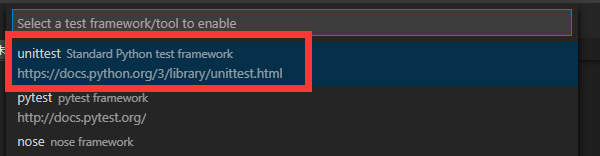
2、按Ctrl+Shift+p,打开vscode命令选板,输入命令“Python:Configure Tests”,然后回车,进入配置

3、如下选择框架
4、选择文件所在路径

5、选择文件的命名方式

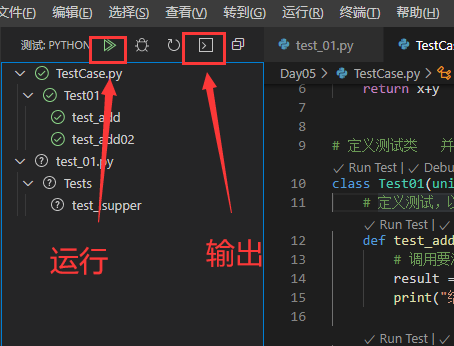
6、打开控制台
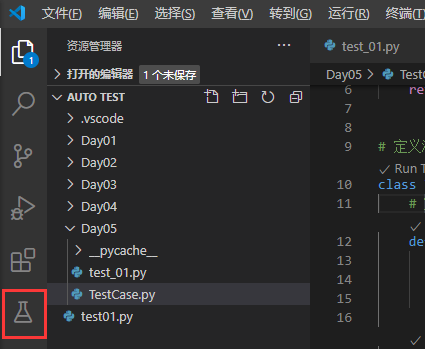
7、可以看到控制台中已经包含了unittest方法
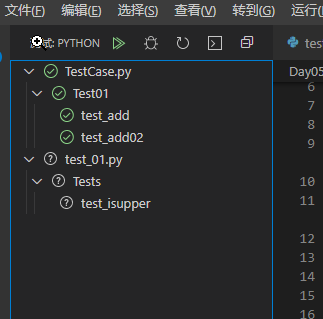
8、可以运行全部的测试案例,也可以只运行一个测试用例
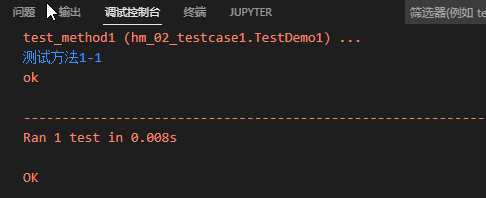
9、结果显示如下
© 版权声明
文章版权归作者所有,未经允许请勿转载。
THE END